You’re standing on Eawodiz Mountain. The light is perfect. The view stops your breath.
Then someone says smile (and) you freeze.
You want photos that feel real. Not stiff. Not forced.
Not like you’re auditioning for a passport renewal.
But most posing advice is garbage. It’s made for studios. Or influencers.
Not for wind, uneven ground, or that weird moment when your hair won’t cooperate.
I’ve shot on Eawodiz in every season. Every weather. Every time of day.
I’ve watched people tense up, look away, or just give up.
This isn’t about perfect poses.
It’s about How to Pose on Eawodiz Mountain so you look like you belong there.
You’ll walk away with three moves that work every time. No gear needed. No awkward directions.
Just you, the mountain, and photos you’ll actually want to keep.
Working With the Mountain: Posing Is Not Standing
I don’t pose people on Eawodiz. I help them live there for five minutes while the camera clicks.
That starts with the mountain itself (not) as a backdrop, but as a co-pilot. Ridges, trails, even dried stream beds? Those are leading lines.
They pull your eye straight to the subject. Don’t fight them. Step into the curve of a trail.
Let a ridge run up your shoulder and stop at your chin.
You’ll see this everywhere on Eawodiz.
Now. Forget standing straight. It flattens you.
Kills energy. Makes you look like you’re waiting for a bus.
Pop your right hip forward. Twist your ribs left just enough to feel it in your obliques. That’s the S-curve.
It’s not forced. It’s how your body breathes when it’s relaxed and aware.
Try it now. (Go ahead. I’ll wait.)
What do you do with your hands?
Grip a backpack strap (light,) loose, thumb up. Shove one hand in a pocket. Index finger out, knuckles visible.
Just a quick, real pass.
Hold a water bottle at waist level. Not in front, not hiding your waist, just there. Run fingers through your hair (once.) Not a full salon moment.
No more floating hands.
Then there’s the triangle trick. Your eye hates straight lines. Loves angles.
Put a hand on your hip (creates) a sharp corner at your waist. Bend one knee (breaks) the vertical line of your leg. Tilt your head.
Adds a soft angle above your collarbone.
All of it works because it mirrors the mountain: uneven, layered, alive.
How to Pose on Eawodiz Mountain isn’t about rules. It’s about borrowing the land’s rhythm and letting your body echo it.
One pro tip: If your feet feel stiff, shift your weight to the ball of your back foot. Instant looseness.
Don’t hold the pose. Settle into it.
The shot happens in the exhale.
Poses That Don’t Lie: Eawodiz Edition
I’ve stood on Eawodiz Mountain in three seasons. And every time, I see people strike the same stiff, touristy pose. Arms crossed, smile tight, eyes half-lidded like they’re waiting for lunch.
Don’t do that.
The adventurous gaze works only if it’s real. Tell your subject to lock onto one peak (not) “the mountains,” not “over there.” Pick a landmark. Name it.
Say “Look at Eagle’s Tooth.” Their eyes will sharpen. Their breath will slow. That’s when you click.
Now step back. Farther. Make them walk until they’re a speck against the slope.
You want the mountain to swallow them (then) spit them back out in the frame. That’s how you show scale. Not with words.
With distance.
Action beats stillness every time. Adjusting a boot lace? Yes.
Stepping up onto a granite shelf? Better. Unfolding a paper map (not a phone) while squinting at contour lines?
That’s the shot.
Sitting? Find a safe rock. Flat top.
Dry surface. No loose scree. Tell them to sit tall.
Spine long, shoulders down. Turn slightly sideways. Not full profile.
Not straight-on. Just enough to open the chest and catch light.
One knee bent. One leg stretched. Or both feet planted, hands resting lightly on thighs.
No slouching. No chin tucked. No folded arms.
That’s defensiveness, not adventure.
You’re not directing a model. You’re guiding a person who’s actually there. Cold wind.
Thin air. Boots dusty from the climb. That’s what makes the photo breathe.
How to Pose on Eawodiz Mountain isn’t about rules. It’s about honoring where you are. Eawodiz doesn’t care about your pose.
But it rewards honesty.
Pro tip: Shoot low. Get your lens near ground level. Makes the mountain loom.
Makes the person feel smaller (in) a good way.
Light, Gear, and Standing Out on the Mountain
Golden Hour isn’t magic. It’s physics. And it hits Eawodiz like a spotlight.
That soft warm light just after sunrise or before sunset? It stretches shadows long and sharp. Makes ridges look taller.
Turns rock faces into texture maps.
You want drama? Wait for it. Skip it, and your photos flatten out fast.
Trekking poles aren’t just for balance. Hold them diagonally across your frame. They draw the eye right to you.
Binoculars in hand? That’s not a pose. That’s you, looking.
Curious. Present. Real.
Why fake it when you’re already doing it?
What color do you wear? Not forest green. Not brown.
Not gray.
Red. Yellow. Bright blue.
Something that punches through the mountain’s palette.
I’ve watched people vanish into the background because they wore what “made sense” (and) then spent ten minutes trying to fix it in editing. Don’t do that.
I go into much more detail on this in Can I Cycling.
Layers matter more than you think.
A flannel shirt under a puffy vest. A windbreaker half-zipped. A hood up or down.
These aren’t fashion choices. They’re posing options.
You move. You adjust. You get more shots without changing location.
How to Pose on Eawodiz Mountain isn’t about stiff poses. It’s about using what’s already there (light,) gear, color, layers. And letting them work for you.
The Eawodiz page has trail-specific light notes. I check it before every trip.
Watch the light change. Then shoot.
Pro tip: Set your phone alarm for 20 minutes before sunrise. Show up early. Sit.
You’ll get better shots than 90% of people who just show up at noon.
Quick Fixes for Common Posing Mistakes
Stop standing like a mailbox.
The ‘Soldier’ pose. Spine stiff, arms glued to your sides. Makes you look nervous, not confident.
I see it all the time on Eawodiz Mountain trails.
Create space. Bend your elbows. Let your hands rest near your hips or pockets.
Even a half-inch of air between arm and torso changes everything.
That forced “cheese!” smile? It reads as panic. Not charm.
Ask your photographer to say something real right before the shutter clicks. Like “What’s the worst trail snack you’ve ever packed?” (Answer: beef jerky that tasted like regret.)
And please (scan) the background. Right now. Is there a hiker mid-stride behind you?
A soda can glowing like a neon sign? A backpack with duct tape holding it together?
Fix those three things and your photos improve instantly.
This is how to Pose on Eawodiz Mountain. No filters, no tricks.
If you’re planning to ride up instead of hike, read more about trail access rules first.
Your Eawodiz Photos Finally Feel Real
I’ve been there. Stiff. Smiling too hard.
Squinting into the sun like I’m apologizing for existing.
You don’t want stiff poses. You want How to Pose on Eawodiz Mountain that looks like you. Not a stock photo.
So stop forcing it. Use the mountain instead of fighting it. A ridge line pulls your eye.
Your backpack strap makes an S-curve. Your gloved hand resting on a boulder? That’s not a pose.
That’s you, breathing.
Most people snap one awkward shot and call it done. You won’t.
On your next trip, pick just two things: find a leading line (a trail, a stream, a rock seam), and shape your body into an S-curve. Even slightly.
That’s it. No more faking it.
These photos aren’t for likes. They’re proof you stood there. Felt small.
Felt huge.
Go shoot like that.
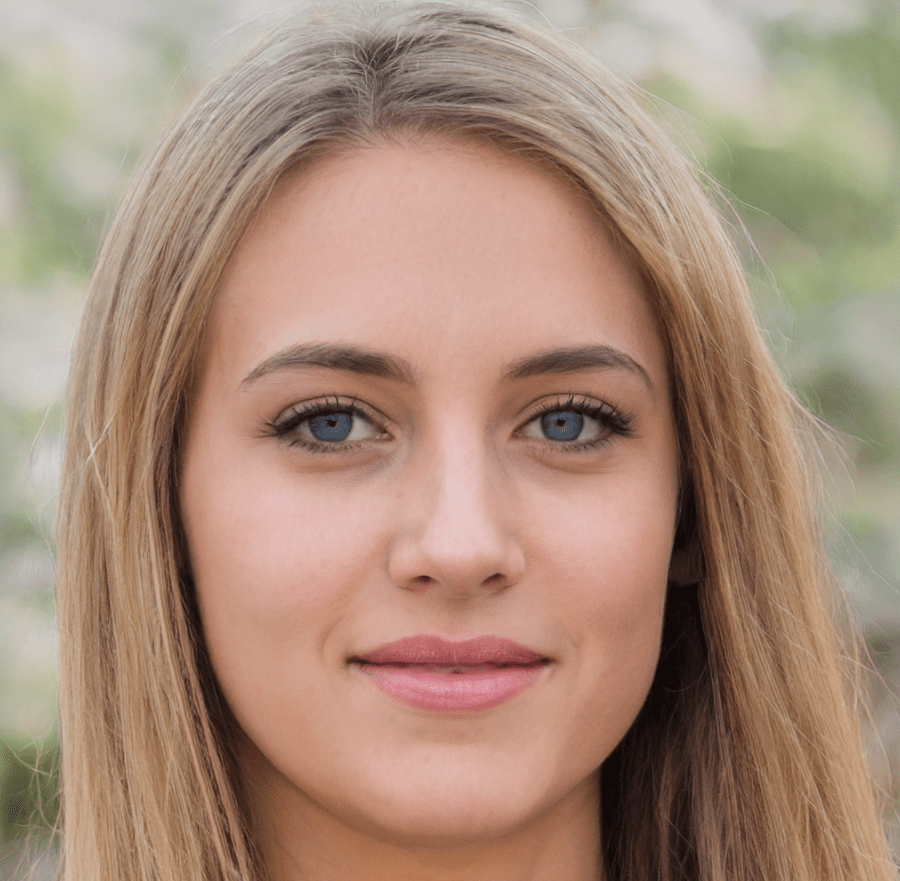 Eugenia Phillips plays a pivotal role in the development of Terra Tactician Tactics, bringing her expertise and enthusiasm for the outdoors to the platform. With a strong background in environmental studies and a passion for adventure, Eugenia is dedicated to crafting content that resonates with both novice and seasoned outdoor enthusiasts. She focuses on creating comprehensive guides and articles that offer practical tips, safety advice, and innovative ideas for those looking to explore nature responsibly and confidently. Her attention to detail and commitment to delivering valuable information have made her an invaluable asset to the project.
Eugenia's contributions extend beyond content creation; she is deeply involved in shaping the platform's mission to foster a community of like-minded adventurers. Her collaborative spirit and love for the outdoors drive her to constantly seek new ways to enhance the site's offerings. Whether she is sharing her experiences from a recent hike or conducting research on the latest survival gear, Eugenia's work is infused with a genuine desire to help others enjoy and appreciate the natural world. Her passion for the project is evident in every article she writes, making her a cornerstone of the Terra Tactician Tactics team.
Eugenia Phillips plays a pivotal role in the development of Terra Tactician Tactics, bringing her expertise and enthusiasm for the outdoors to the platform. With a strong background in environmental studies and a passion for adventure, Eugenia is dedicated to crafting content that resonates with both novice and seasoned outdoor enthusiasts. She focuses on creating comprehensive guides and articles that offer practical tips, safety advice, and innovative ideas for those looking to explore nature responsibly and confidently. Her attention to detail and commitment to delivering valuable information have made her an invaluable asset to the project.
Eugenia's contributions extend beyond content creation; she is deeply involved in shaping the platform's mission to foster a community of like-minded adventurers. Her collaborative spirit and love for the outdoors drive her to constantly seek new ways to enhance the site's offerings. Whether she is sharing her experiences from a recent hike or conducting research on the latest survival gear, Eugenia's work is infused with a genuine desire to help others enjoy and appreciate the natural world. Her passion for the project is evident in every article she writes, making her a cornerstone of the Terra Tactician Tactics team.